How do I set up donations?
Resilia Donations is easy to set up and should take no more than 15 minutes. You must complete 3 simple steps.
First Step. Fill out KYC (Know Your Customer) Form
The first step is for you to create an account in Stripe with Resilia. Resilia Donations has partnered with Stripe, so you will need to create a connected account to collect donations and have payouts directly deposited in your nonprofits bank account. When you get to the donations page follow the prompts to complete the KYC.
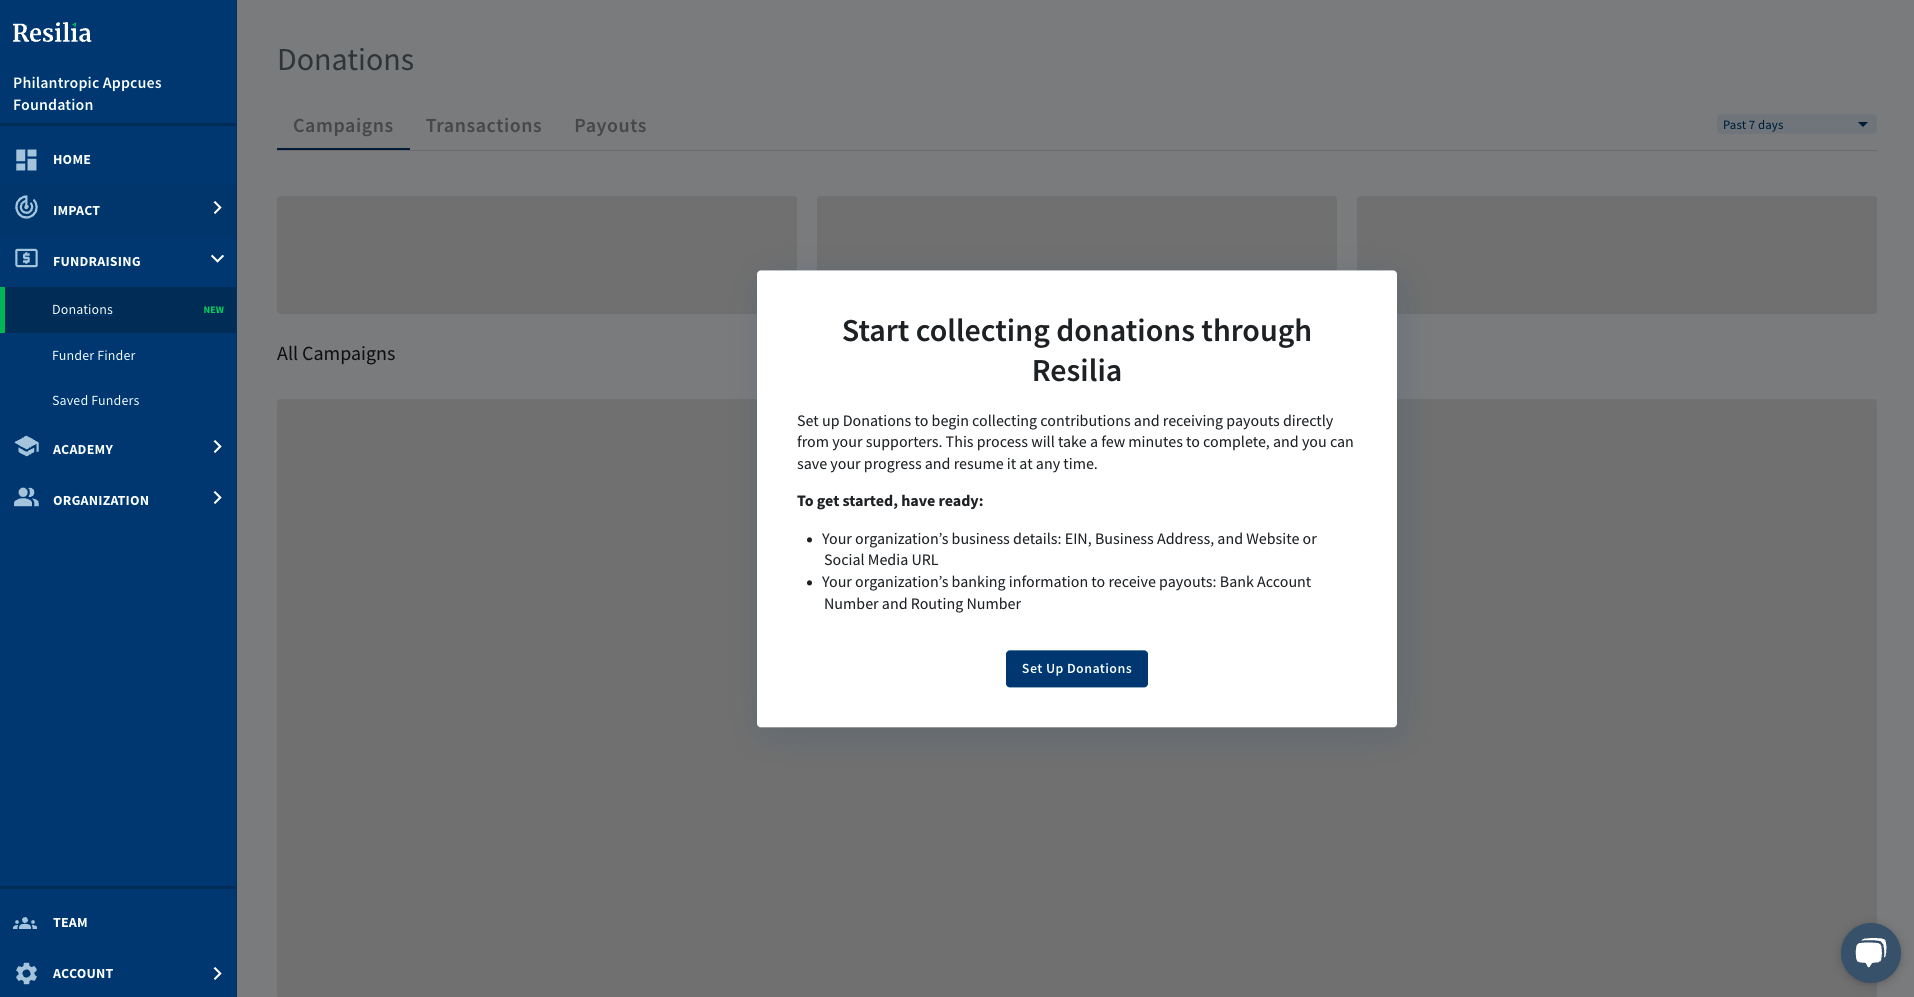
1. Click into the Donations Menu under Fundraising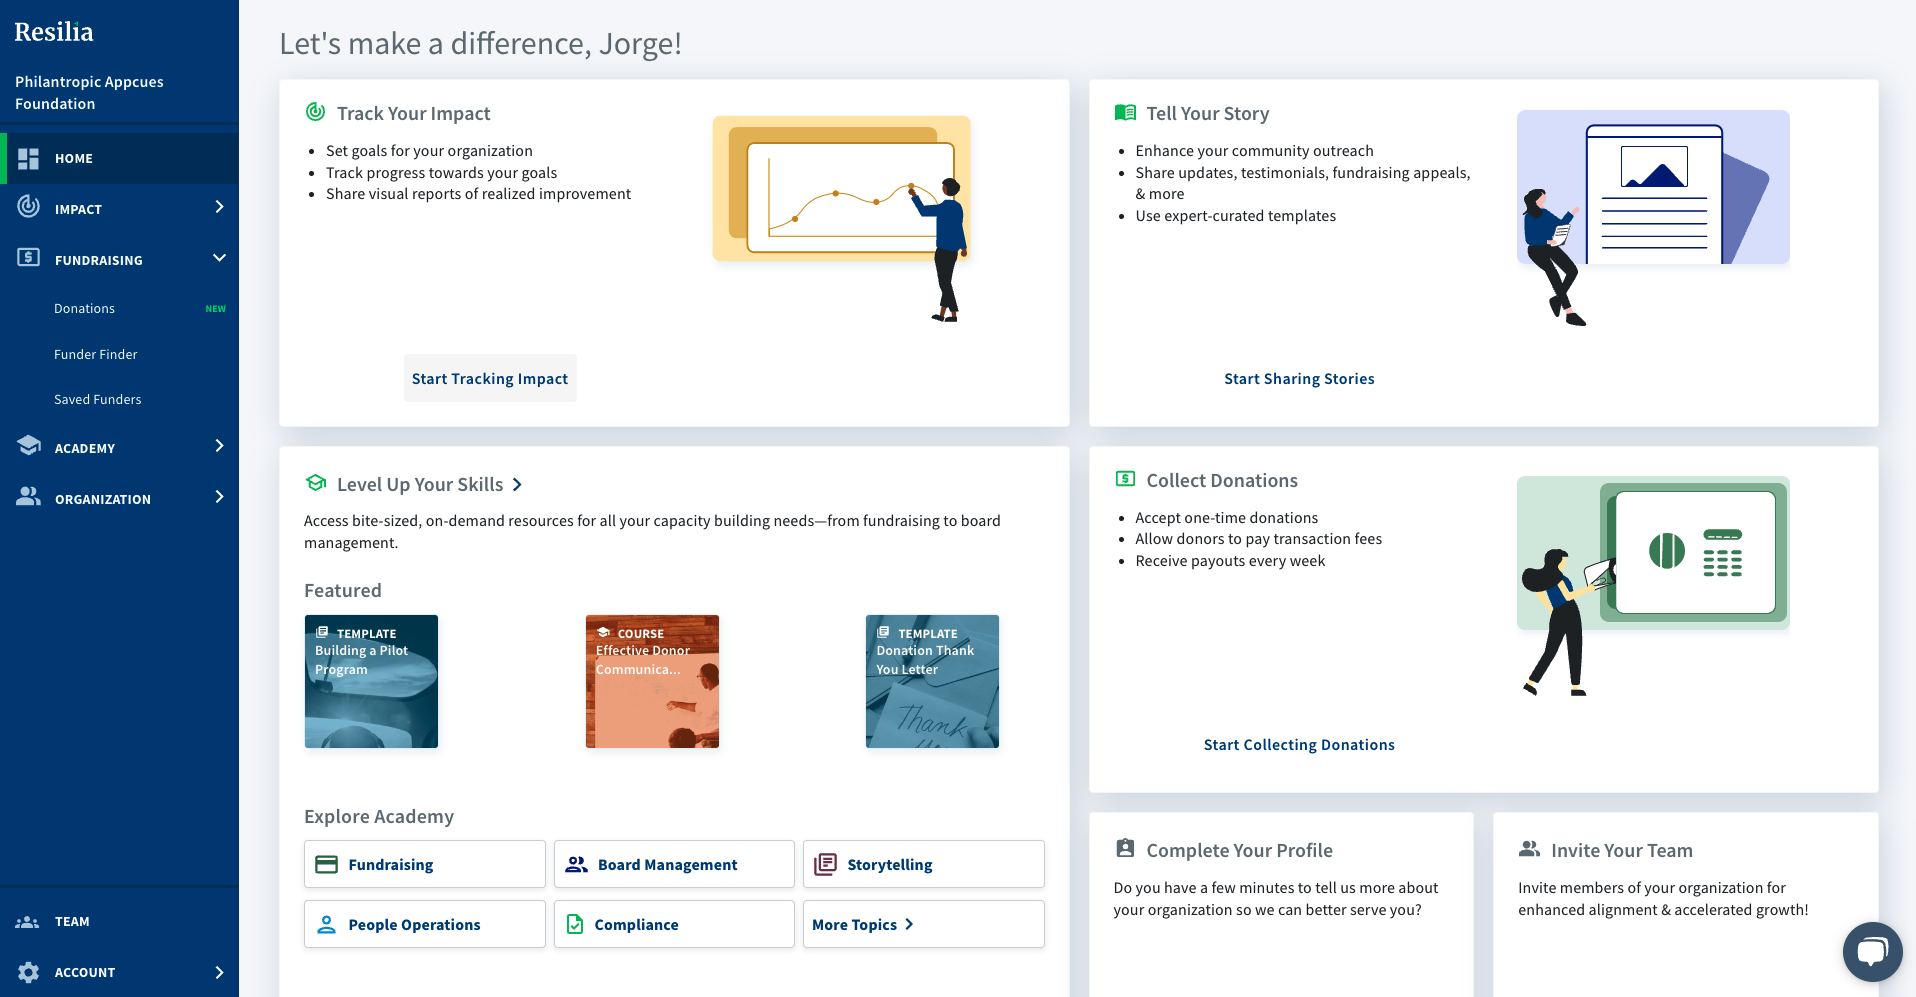 2. Click on the “Setup Donations Button” in the middle of the modal
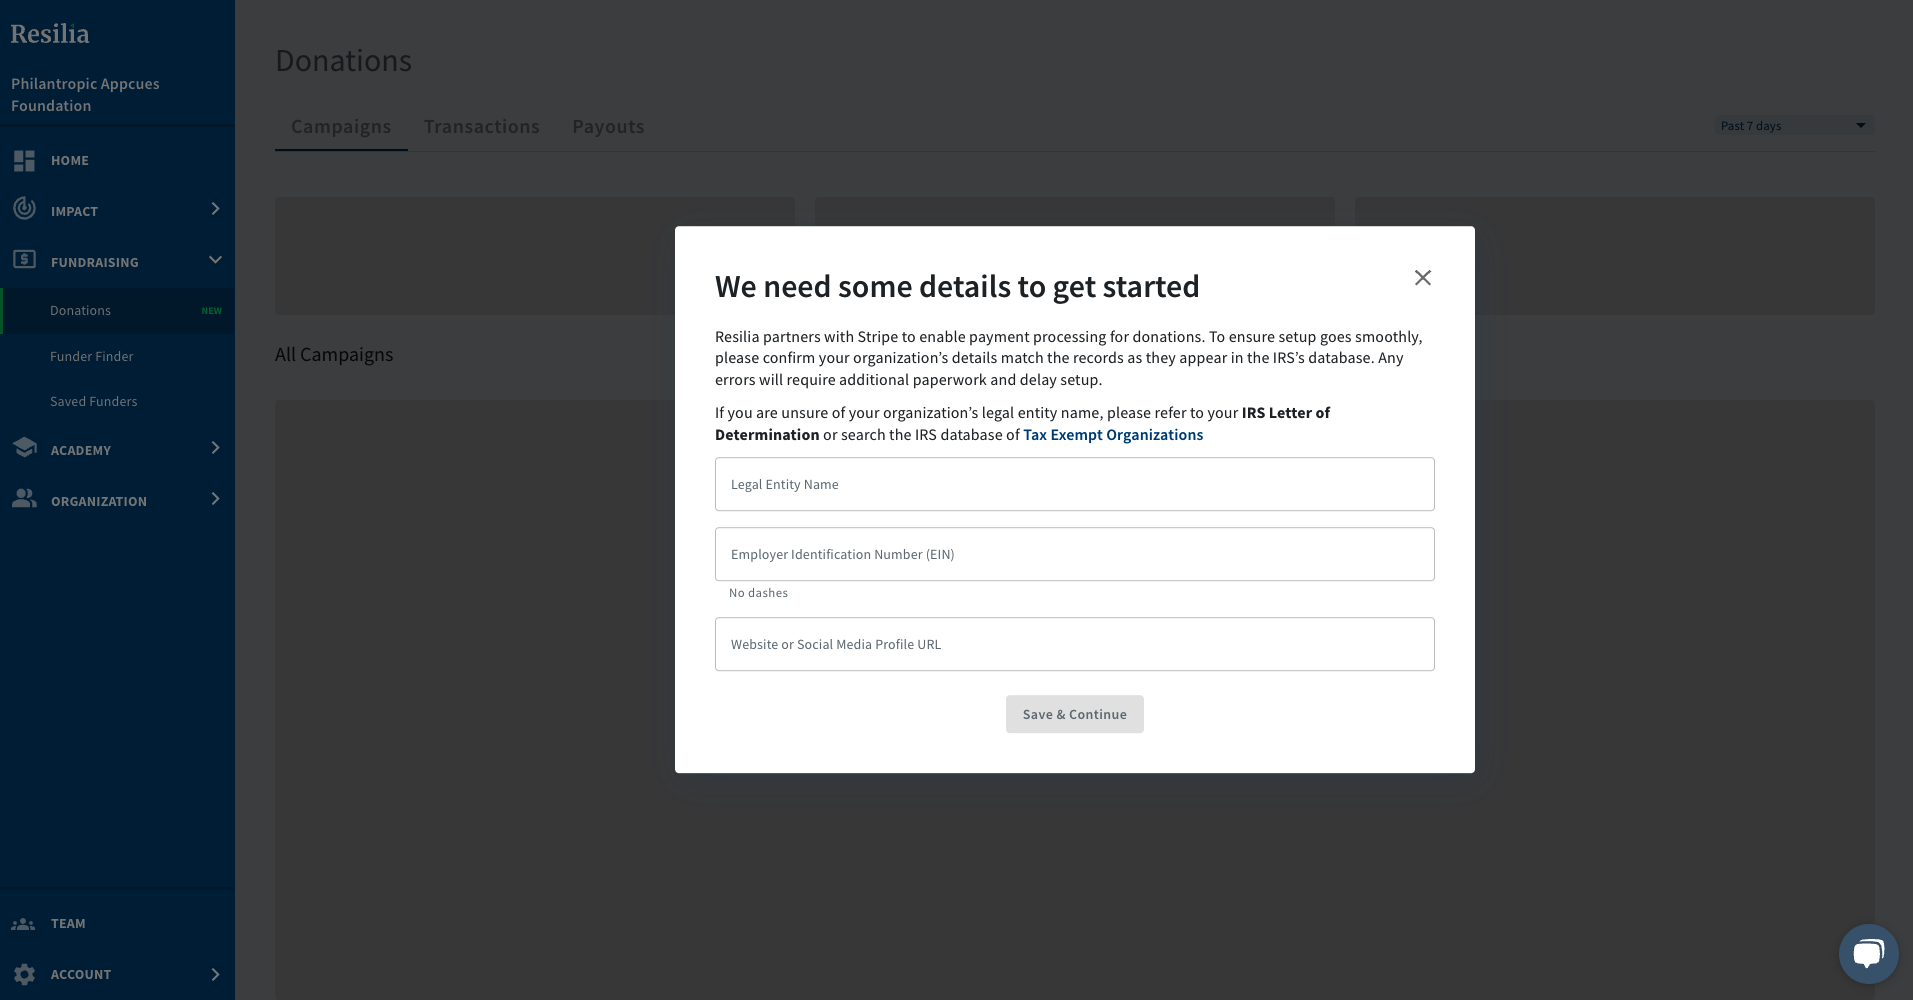
3. In this setup with Stripe, you will be required to share information such as EIN, Legal Business Name and your organization website. This is for creating your Stripe Connect account.
4. Next you will need to add your Organization’s address and bank account.
After you submit this KYC Form, your information will be verified with Stripe, and we will do a check to confirm that your organization is 501c3 status. This usually takes no longer than a minute but can take up to 3 days.
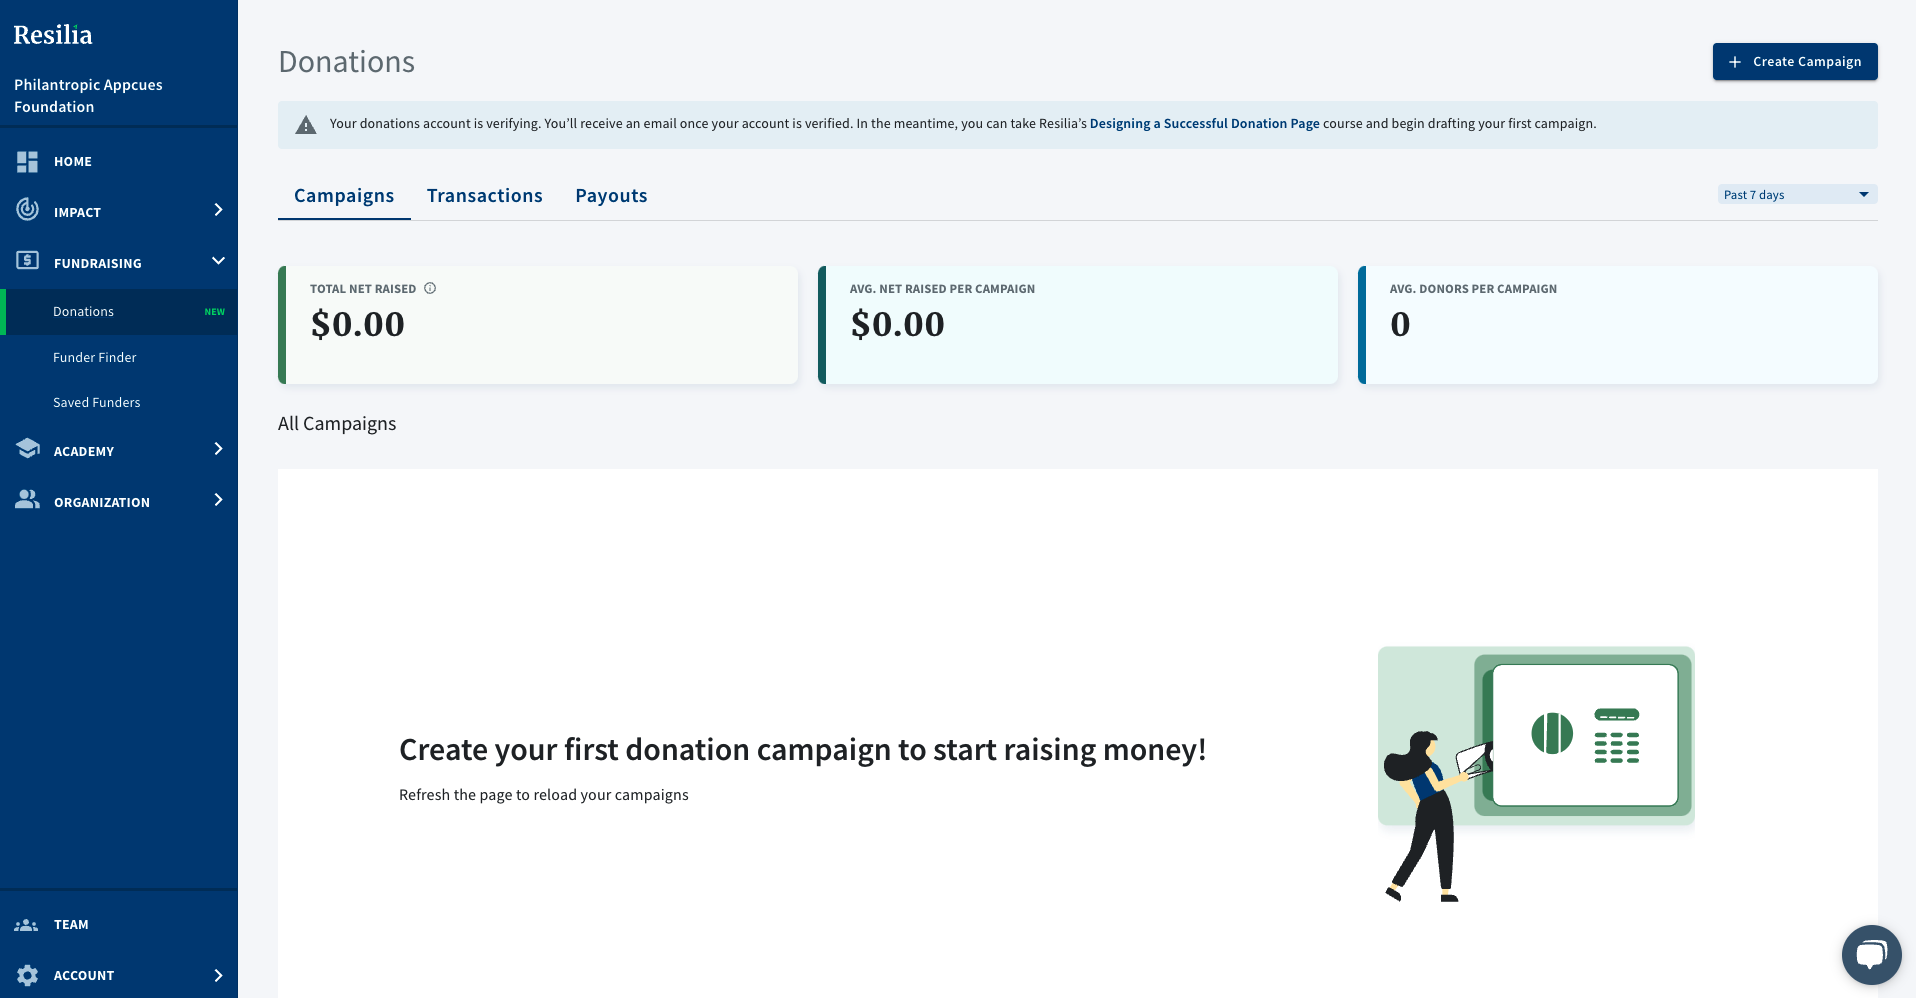
5. Upon reload of this page, you will have confirmation of your verification. The message shown below indicates that you have successfully verified with stripe and can start setting up donations!
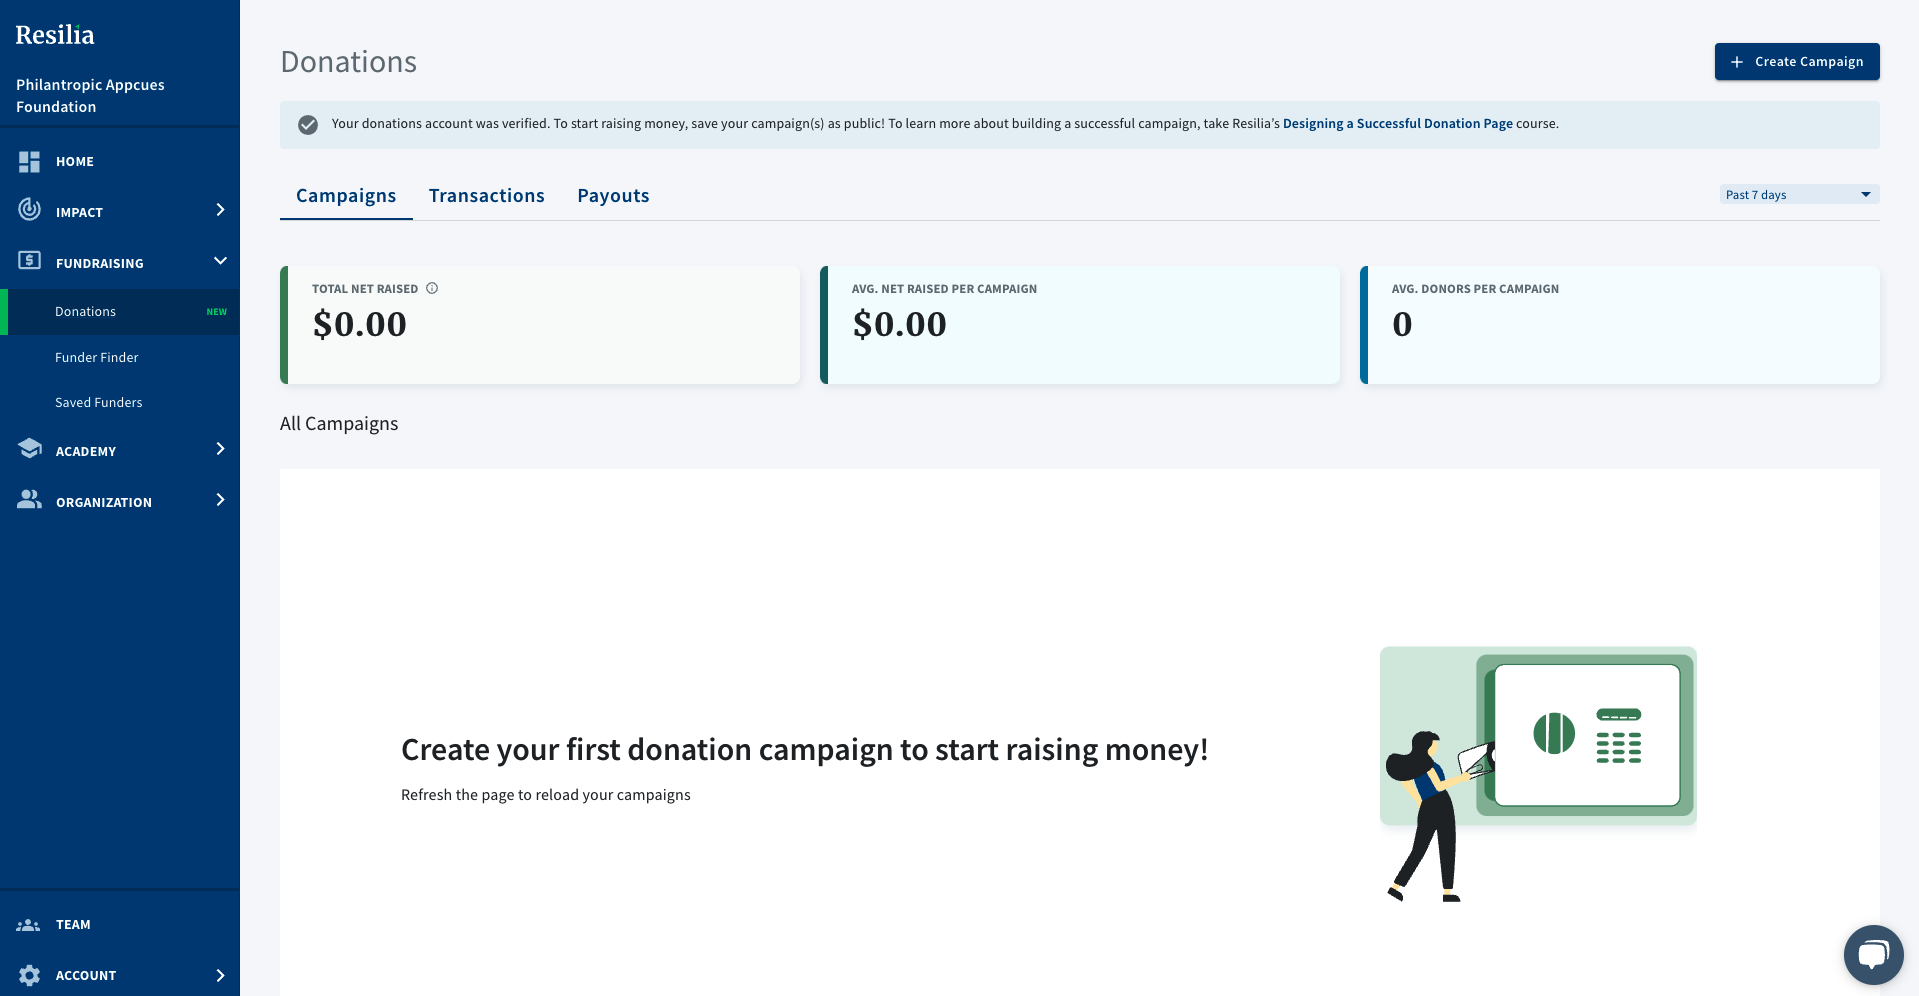
Second Step. Create your first Donation Page
Once your account is fully verified, you will be able to create your first Donation Page or your first Campaign. If you want to learn more about the difference please read this article here.
1. Clicking on “Create Campaign” you will be able to customize your Donation Page/Campaign
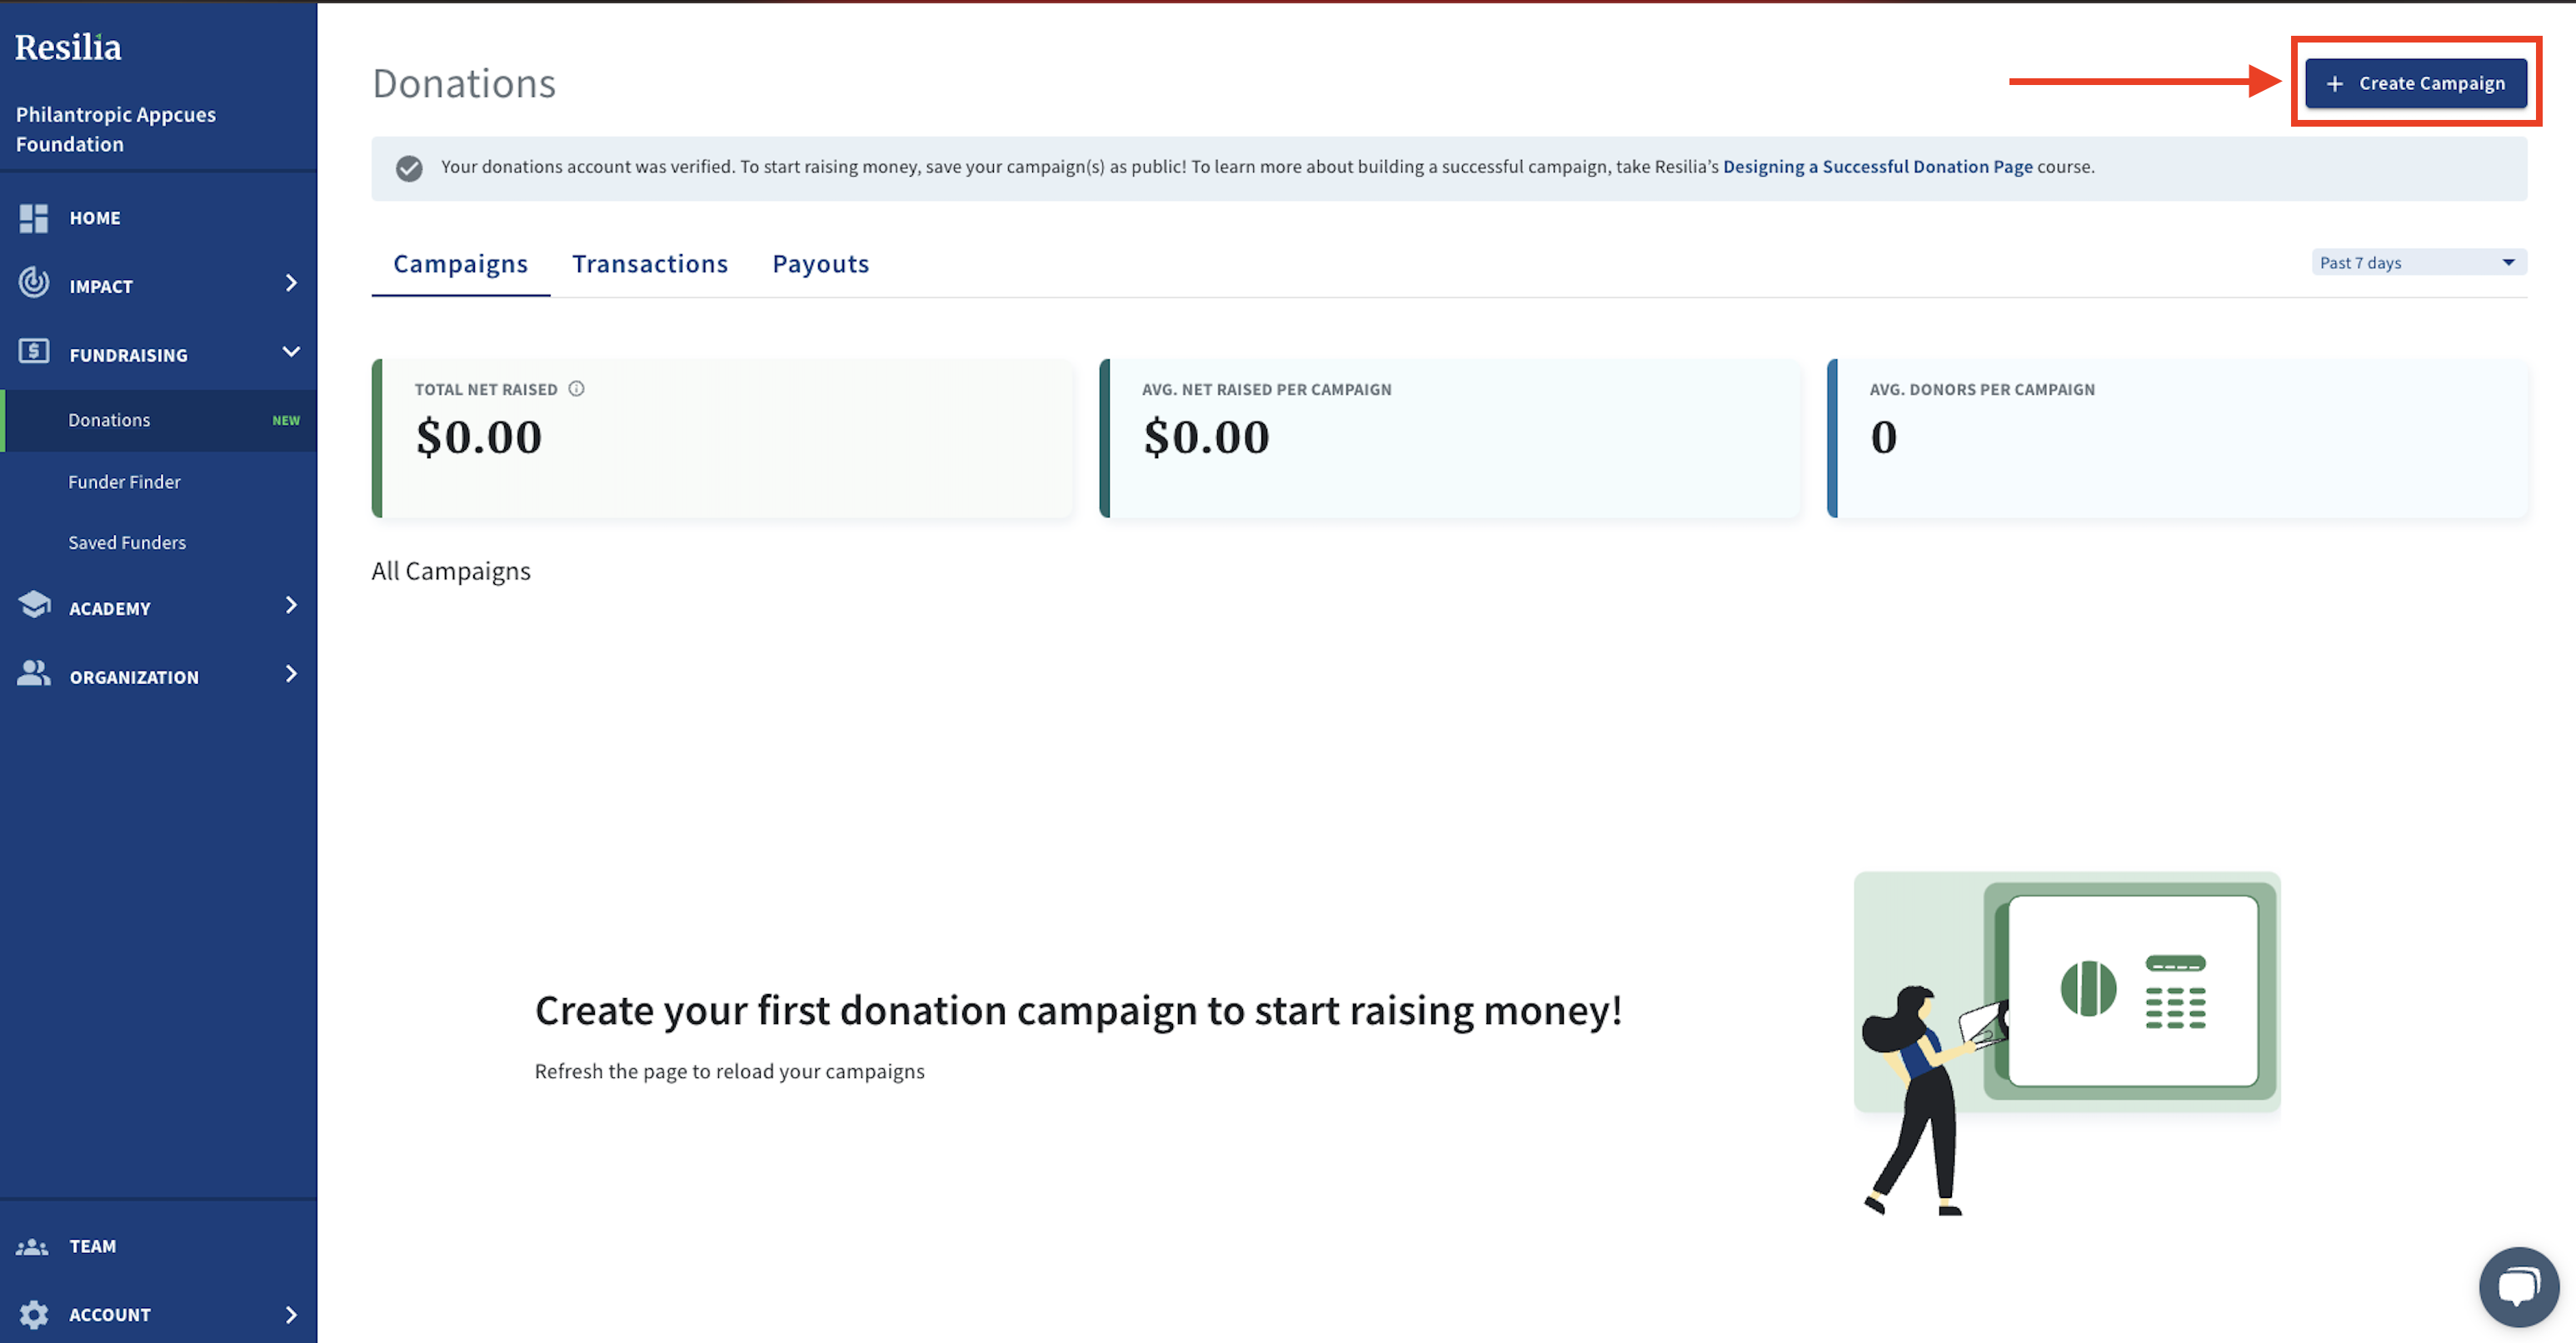
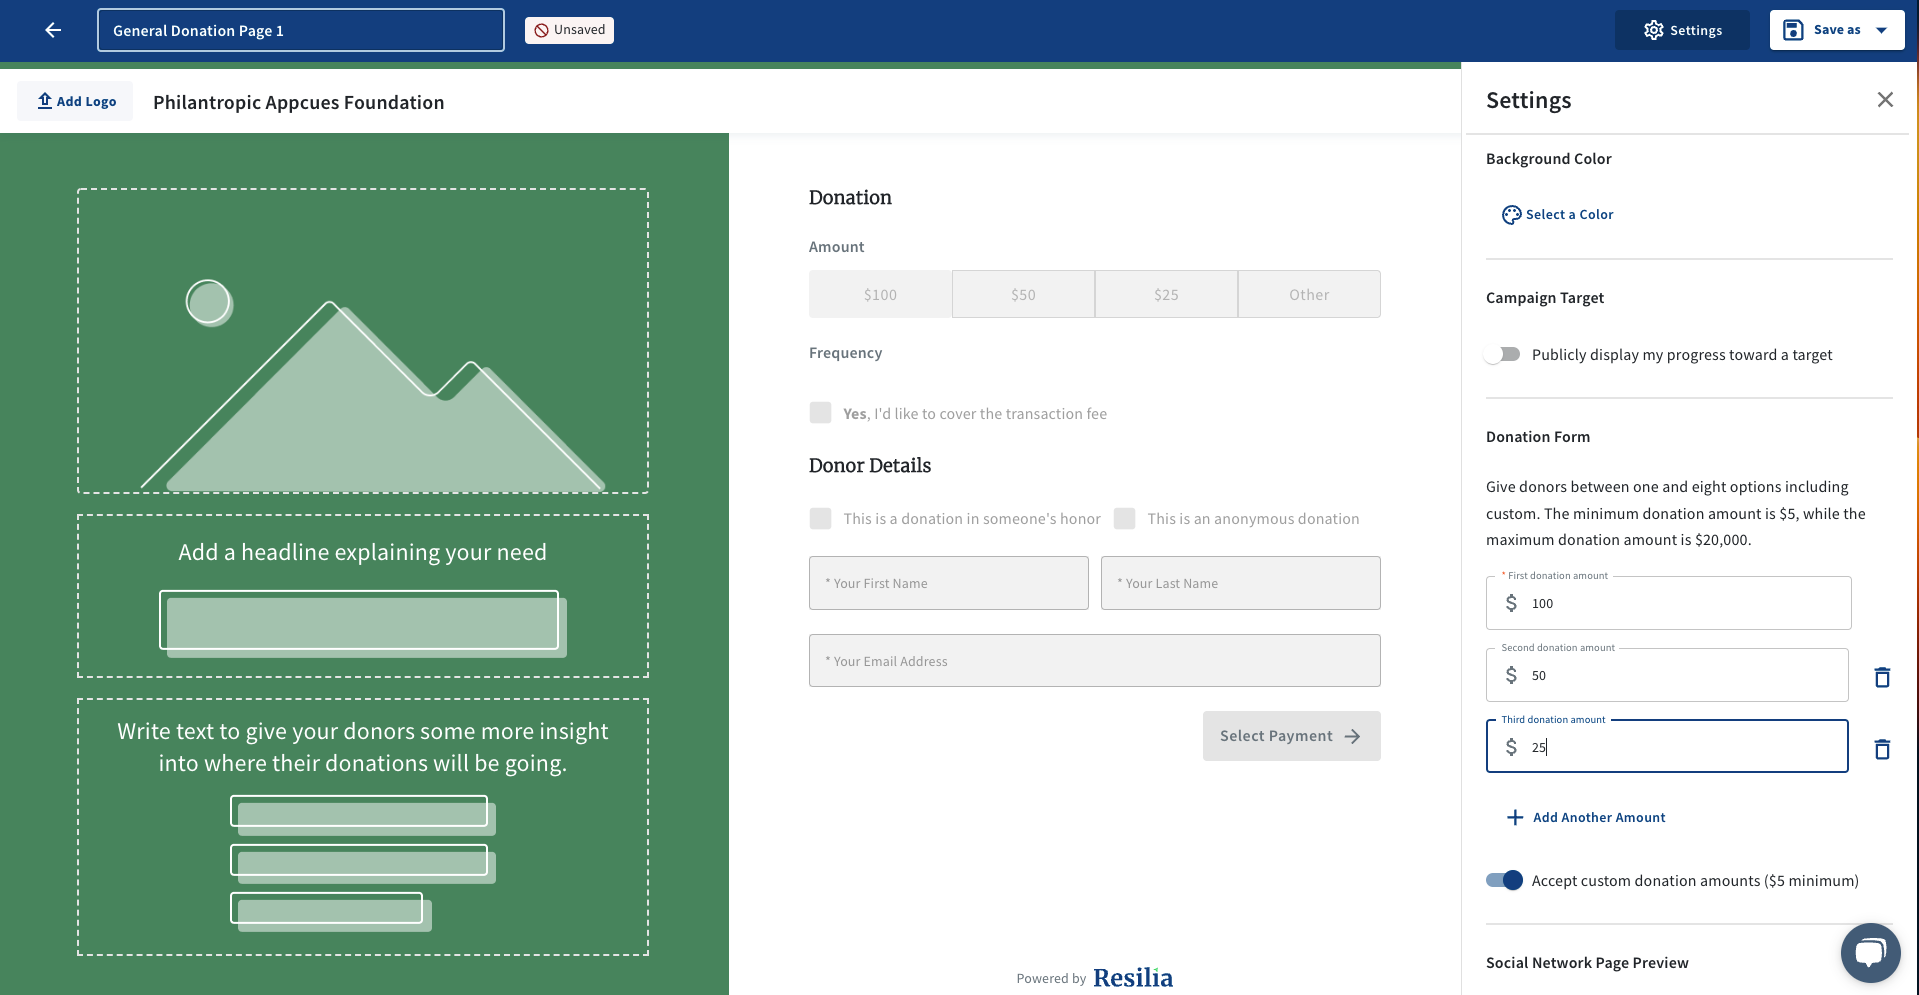
2. In the page customization you are able to add
- A photo and logo for your organization
- A headline prompting donors to donate to your cause
- Supporting text to give your donors more information, and thank them for their support
- Customize Color of your Donations Portal
- Add your goal target to display your fundraising progress with your donors
- Customize your donation amounts, so that you give specific amounts to your donors
3. Save your Donations Page as Public so that you can start sharing your page.
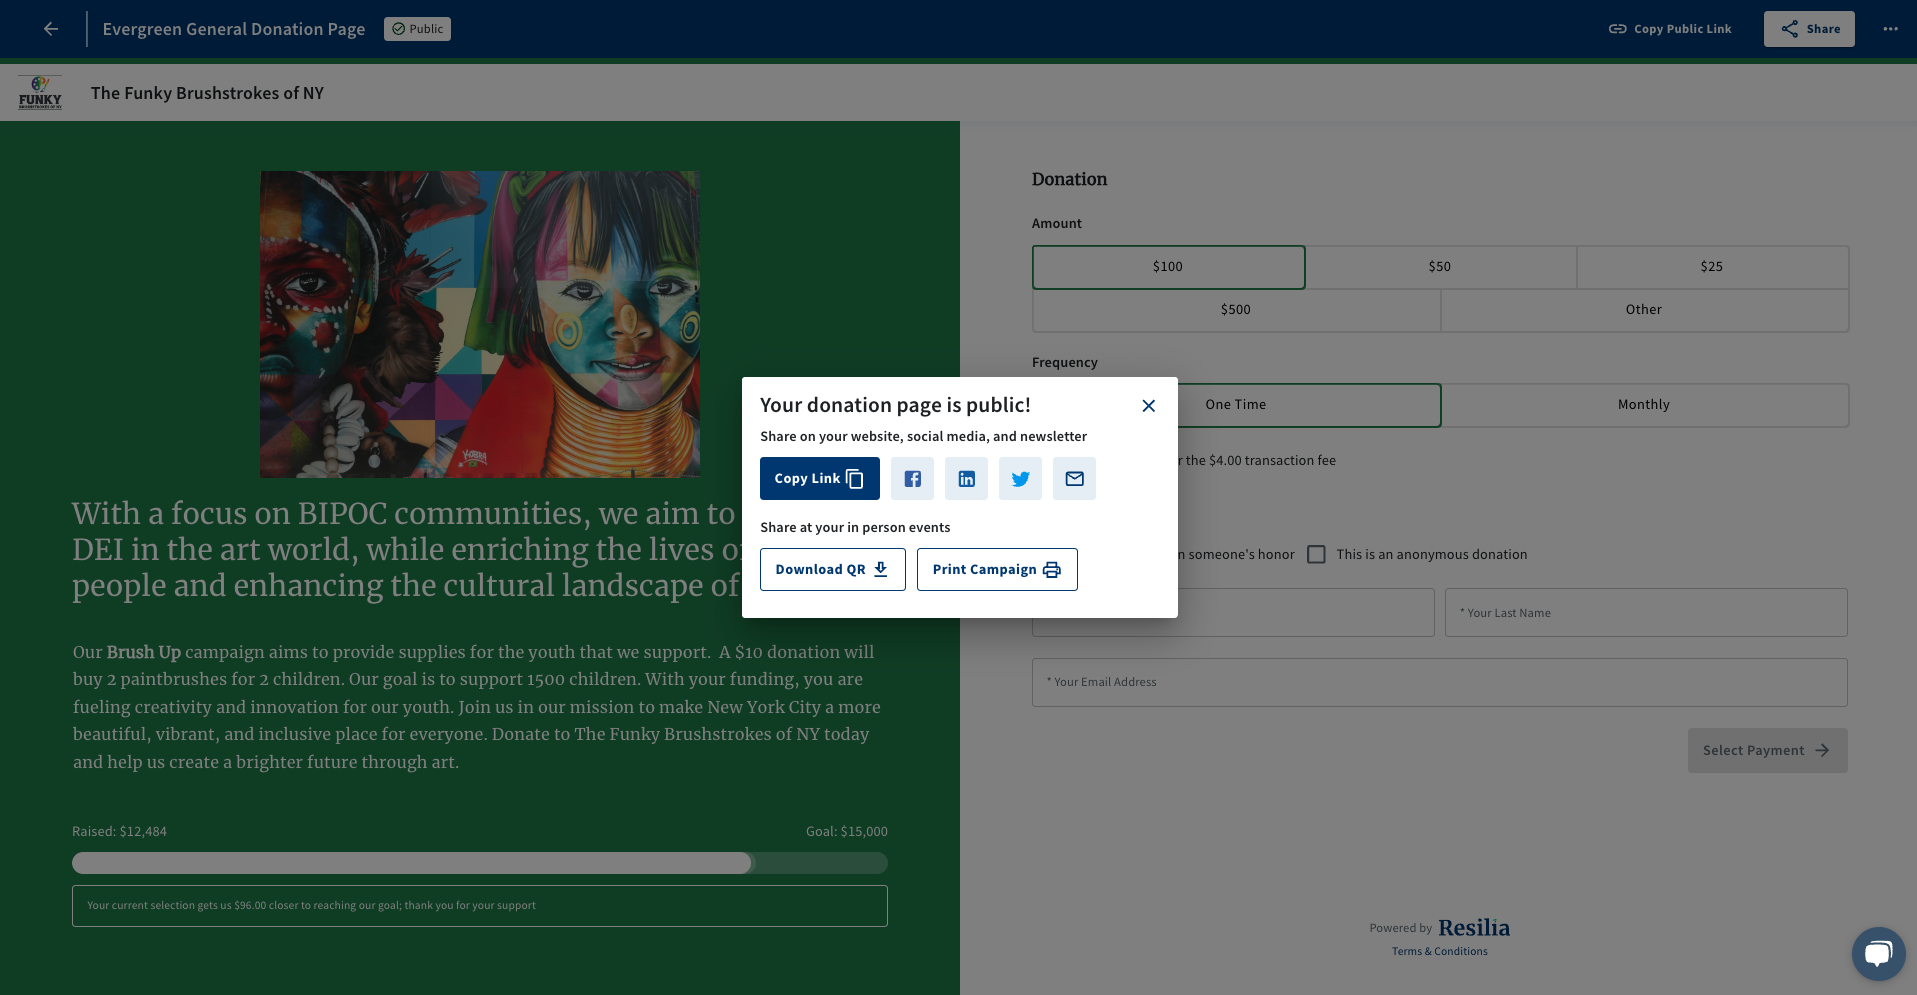
Third Step. Share Your Donations Page
Once you have customized your portal, you can then share it to start collecting donations. There are two ways to share this portal with your supporters.
1. You can either click share in the top right corner
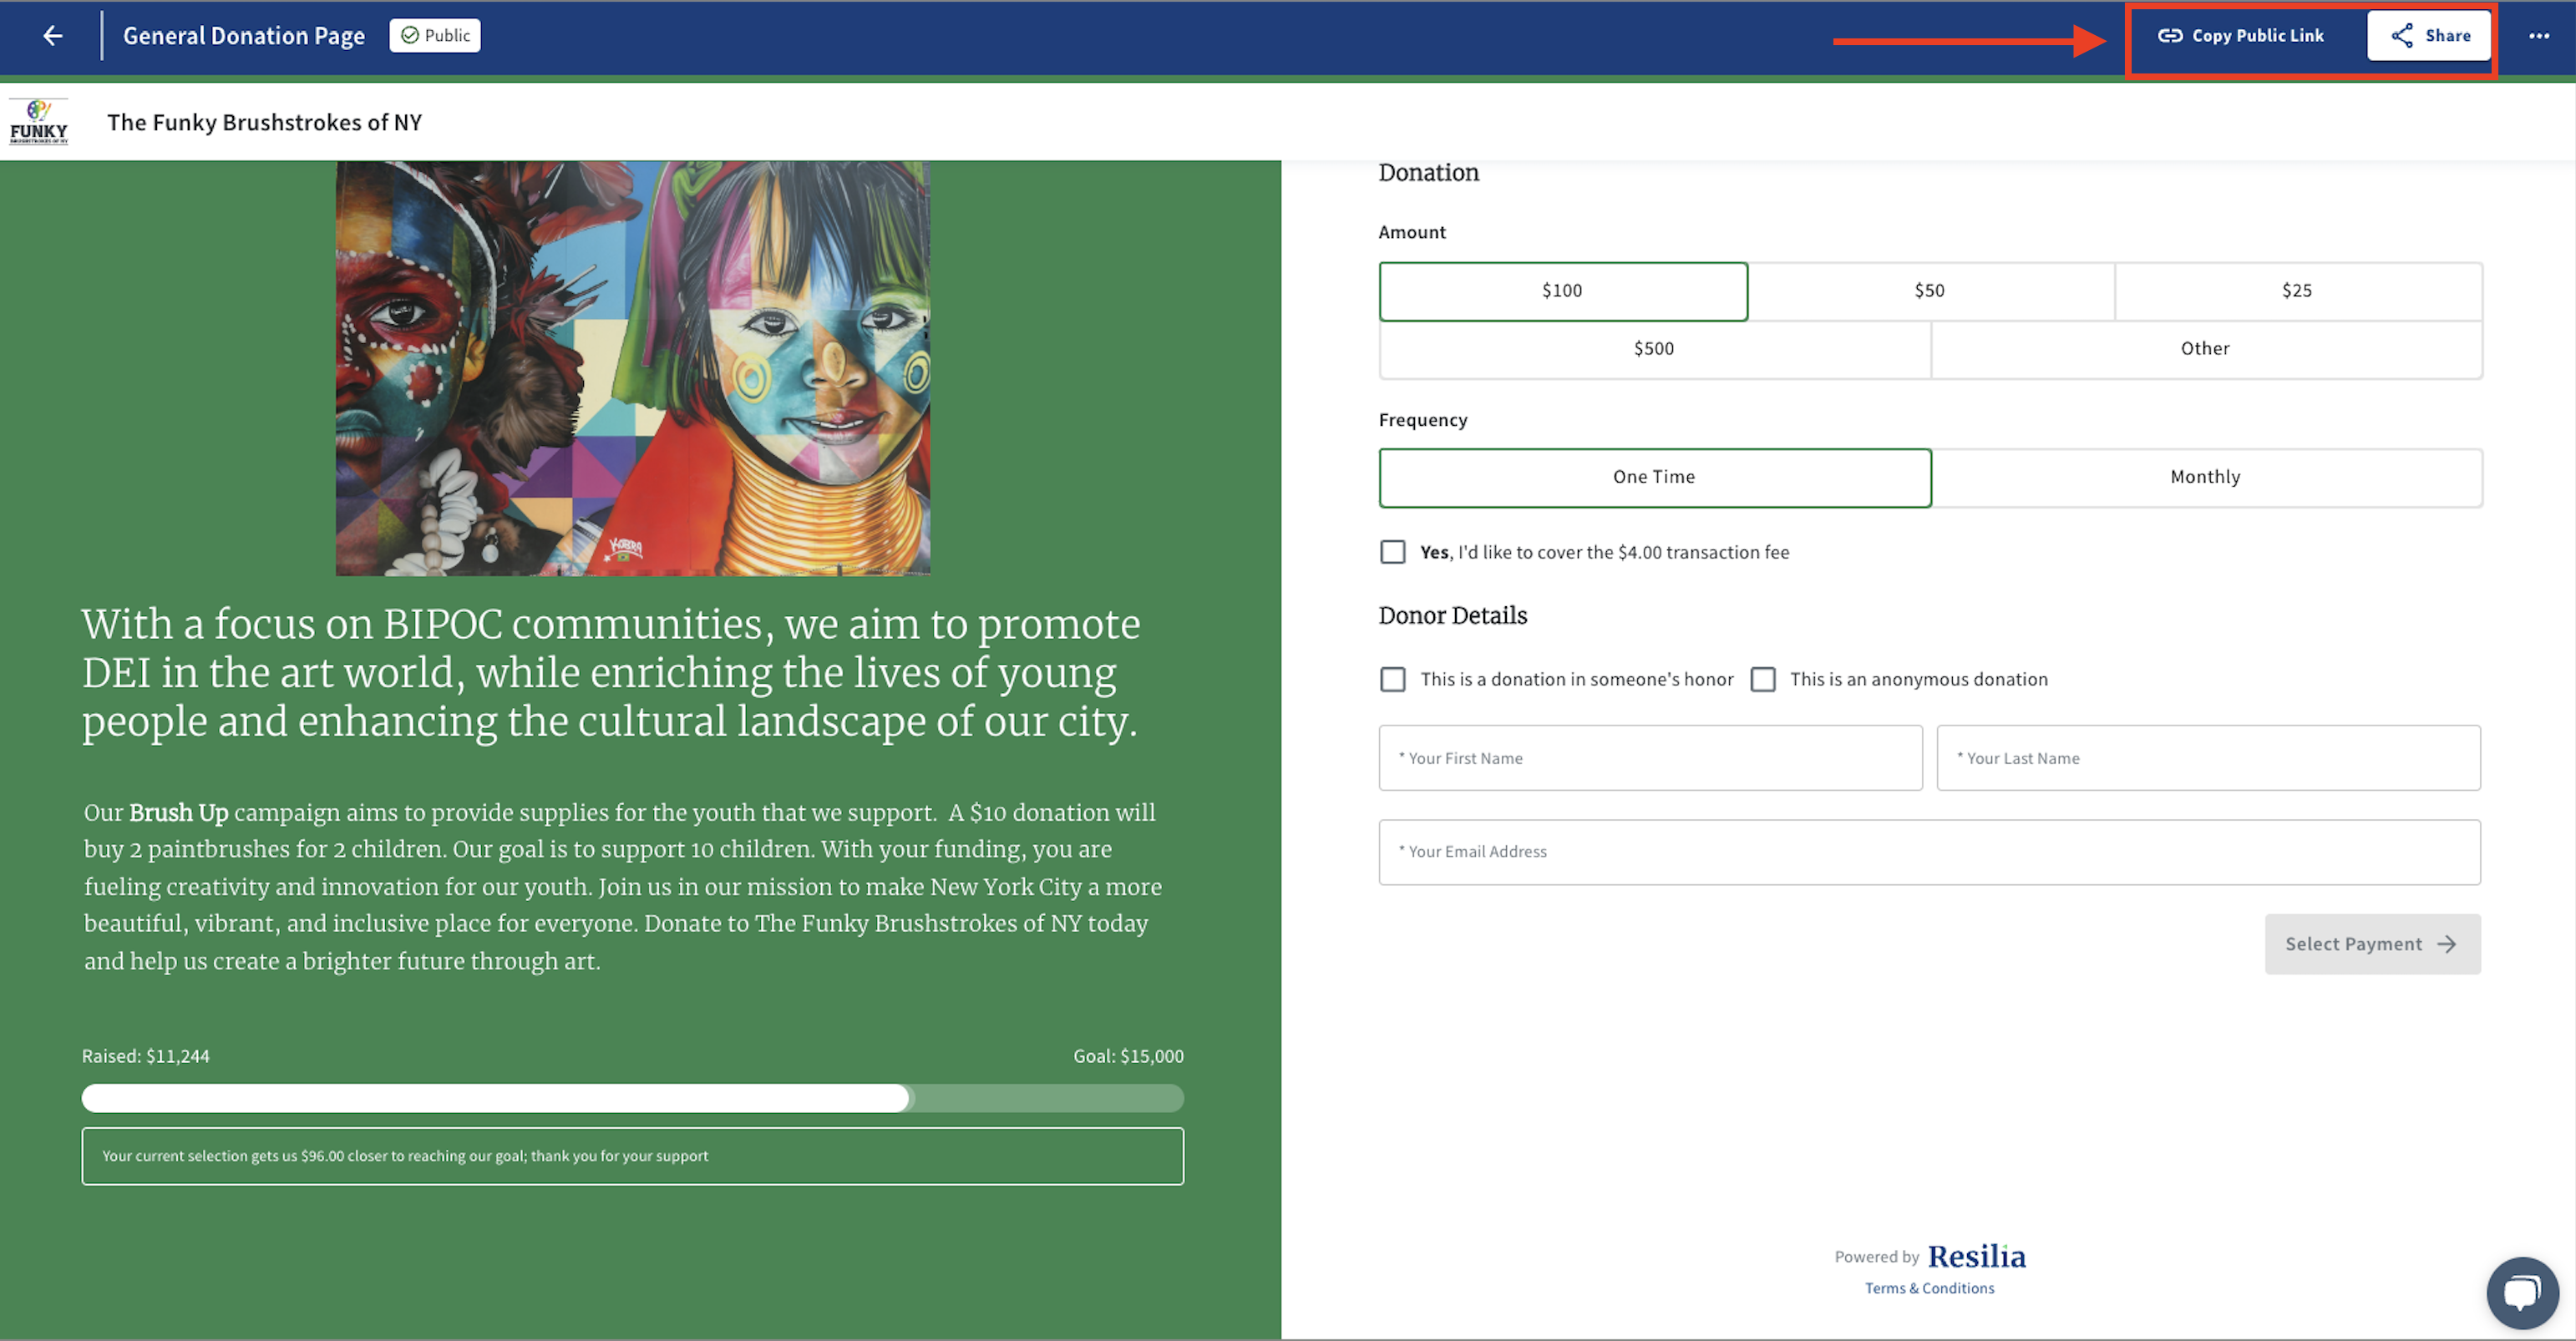
You will be able to share your portal through social sharing buttons , or by copying the link to email or embed. For embedding your Donations Portal Link please look into this article. Your link should look something like this:
2. If you want to give more information on your impact, you can also create a story with a call to donate. Please refer to this article on creating stories for more information!
.png?width=2726&height=680&name=Resilia_Final_Color%20(1).png)